A damaged window screen can be a real nuisance, but repairing it is easier than you might think. With the right tools and a little know-how, you can have your window screen looking brand new in no time. In this guide, we’ll walk you through the step-by-step process of repairing a window screen.
Step 1: Gather Your Supplies
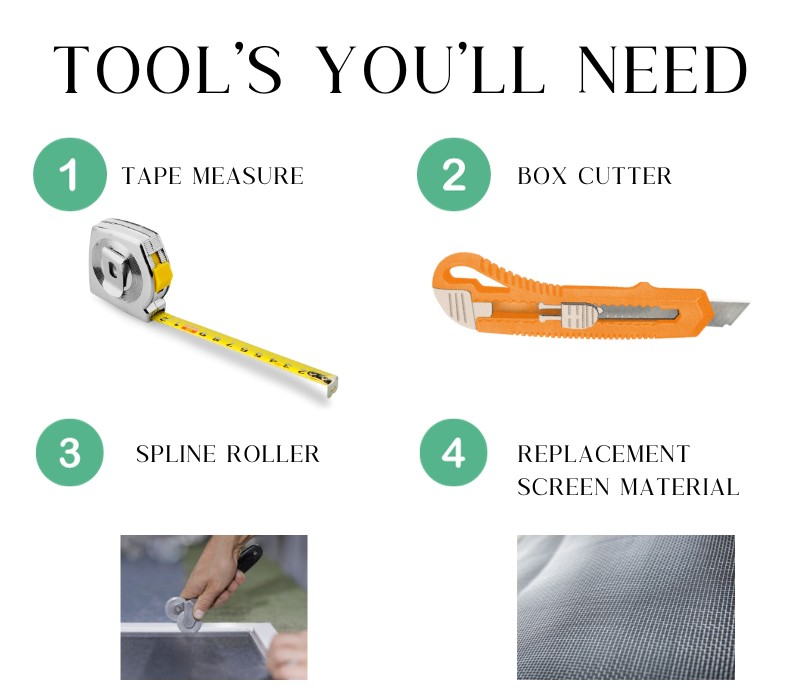
Before you start, it’s essential to gather all the necessary tools and materials:
- A measuring tape
- A utility knife
- A spline roller
- Replacement screen material (choose the type that suits your needs)
- Spline (usually made of rubber or vinyl)
- Screwdriver (in case your window frame requires it)Having these items on hand will make the repair process smooth and efficient.
Step 2: Remove the Damaged Screen
Begin by opening the window from the inside and carefully inspecting the edges. Look for any tabs, clips, or springs that may be holding the damaged screen in place. Release or remove these attachments to free the screen and set it aside on a firm, flat surface.
Use a screwdriver to gently pry the old spline out of the channel and remove the torn screen. Be sure to discard the old screen and spline, as you’ll want a fresh start. Wipe the screen frame clean to ensure it’s ready for the replacement.
Step 3: Measure and Cut the Replacement Material
Place the screen frame on a flat work surface and roll out enough replacement screen material to cover the entire frame. Leave an additional 2 inches of screening material on each side and cut the screen to size using a utility knife. This ensures a proper fit for your replacement screen.
Step 4: Position the New Window Screen
Position the freshly cut replacement screen material over the window frame, making sure it covers the entire opening. To temporarily hold it in place during installation, you can use clips or tape. This will provide stability and make the installation process more manageable.
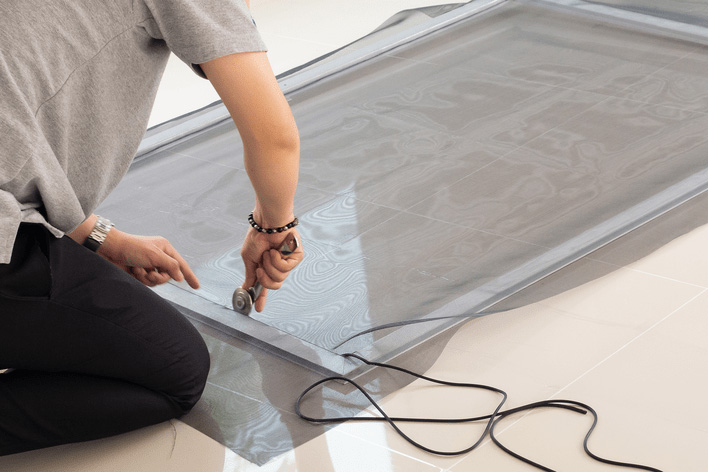
Step 5: Installing the Spline
The spline is a crucial component of the window screen system, as it attaches the screen to the frame securely. Take the spline and insert it into the groove, starting at one corner of the frame. Use your spline roller to apply steady pressure, firmly embedding the spline into the frame. Continue rolling it along the groove, working your way around the frame until you reach the starting point. This ensures that the screen material is securely held in place.
Step 6: Trim Excess Screen Material
With the spline snugly installed, use your utility knife to trim any excess screen material along the edges of the frame. This step is not required but helps ensure that the window screen sits correctly and achieves a cleaner, more polished appearance.
Step 7: Reinstall the Screen
Finally, it’s time to reintroduce your newly repaired window screen. Gently position the screen back into the window frame, aligning it with the attachments you identified earlier. Be patient and careful during this step, locking the screen in place where necessary.
By following these detailed steps, you can successfully repair your window screen and improve the appearance and functionality of your windows. Whether it’s a small tear or a larger issue, tackling this DIY project can save you money and enhance your home’s comfort. Enjoy your freshly repaired window screen!